A drawer can resist you even when its slides are brand new. Why do drawers get stuck even with new hardware? The answer often begins with the cabinet, not the slide. A slightly twisted box, swollen plywood edge, uneven face frame, or misplaced screw can create friction within millimeters. The drawer may look square, yet scrape like a matchbox against a rough wall.
Industry research shows why this problem matters. The 2024 U.S. Houzz Kitchen Trends Study reports that 76% of renovating homeowners upgraded their cabinets, making reliable drawer performance a practical expectation, not a luxury. The National Kitchen & Bath Association’s 2024 Kitchen Trends Report also highlights storage efficiency and daily usability as major design priorities. New hardware cannot guarantee either result. Installation accuracy still controls the outcome.
Woodworking authority R. Bruce Hoadley offered a simple warning: “Wood moves.” That short sentence explains seasonal swelling, shifting joints, and changing clearances. It also challenges a common assumption: newer hardware is not automatically a complete repair. Drawer slides may be overloaded, installed slightly out of level, or tightened against a cabinet that was never aligned correctly. I have seen a drawer bind because one rear screw sat only a few millimeters too high. Small error. Big resistance.
This guide examines seven practical causes, from warped components and incorrect measurements to excessive weight and poor adjustment. Some explanations overlap. That is useful, because real cabinets rarely fail for one reason alone.
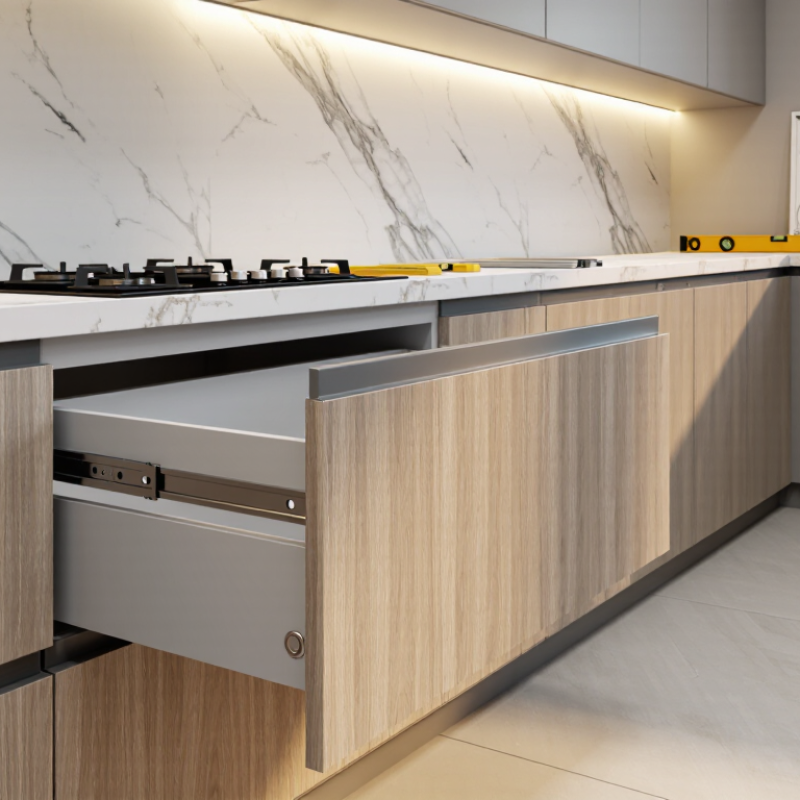
Drawer hardware works by guiding weight along aligned tracks. When those tracks sit parallel, rollers or ball bearings move smoothly. A tiny angle can create friction, even with new parts.
Check the cabinet opening before blaming the hardware. Measure both diagonals; unequal measurements may reveal a twisted box. Inspect the drawer for swelling, loose joints, or a bowed bottom. Old screw holes can pull new runners out of position. Use a straightedge and leave the clearance recommended by the manufacturer. Do not assume more space is always better. It can allow movement and uneven loading.
Install each runner at the same height and depth. Tighten screws gradually, because over-tightening can distort thin metal. Test the drawer empty, then add its normal load. Heavy items placed near the front can increase pressure on the slides. Look for sawdust, paint buildup, or a proud screw head inside the track. These small obstructions matter. I have seen a drawer bind because one rear screw sat less than a millimeter too high. That was easy to miss. In another repair, replacing the parts failed until the cabinet itself was shimmed. New hardware cannot correct a crooked structure. Recheck the alignment after several openings, since wood may shift with humidity.
New parts cannot fix a crooked cabinet. Parallel tracks are essential for smooth movement. A tiny angle creates friction. Check the cabinet first.
Measure both diagonals across the opening. Unequal measurements suggest a twisted structure. A difference of several millimeters can affect slide alignment. Measure carefully.
Inspect the drawer for swelling, loose joints, or a bowed bottom. A warped bottom can press against the slides. Wood may also change with humidity.
Install both slides at the same height and depth. Keep them parallel and equally spaced from the cabinet floor. Check alignment from the front and side.
Yes. A protruding screw head can touch the slide channel. A screw near an adjustment slot can block movement. Use suitable screw lengths and tighten gradually.
Overtightening can distort thin metal or cabinet panels. This may change the slide angle. Leave final adjustments slightly loose until movement feels smooth.
Look for sawdust, paint buildup, and raised screw heads inside the track. One rear screw was less than a millimeter too high. It still caused binding.
Test it empty before adding weight. Then add its normal contents gradually. Heavy items near the front increase pressure on the slides. Recheck alignment after several openings. My first diagnosis may be wrong.
Drawers can still bind after new hardware is installed because smooth movement depends on more than the slides themselves. Cabinet alignment, level, opening width, and depth must all be correct, while mounting positions and fastener placement need to match the drawer and cabinet structure. Even a small angle, uneven gap, or misplaced screw can create friction and prevent the drawer from closing properly. Understanding why do drawers get stuck even with new hardware helps identify the real source of the problem instead of replacing parts unnecessarily.
Seven practical fixes include checking and correcting cabinet level, confirming the opening dimensions, realigning the slides, tightening or repositioning fasteners, removing debris, reducing excessive drawer weight, and addressing swelling or warped wood. Inspecting both sides for consistent spacing and testing the drawer after each adjustment can reveal which issue is responsible. With careful alignment, clean surfaces, balanced loading, and properly positioned hardware, most sticking problems can be restored to smooth, reliable movement.

 Refa Tools