Furniture stability is often decided by small hardware choices. A loose cam lock, undersized screw, or poorly placed bracket can turn a useful cabinet into a serious hazard. The U.S. Consumer Product Safety Commission’s Furniture Tip-Over Statistics, 2018–2020, estimated about 15,400 emergency-department injuries involving children under six each year. Those numbers make structural reliability more than a design preference.
This guide explains how to improve stability of furniture structure using hardware, from stronger joint connectors to wall anchors, threaded inserts, corner braces, and anti-tip straps. CPSC Chair Alex Hoehn-Saric has stated, “Furniture tip-overs are preventable.” That simple sentence deserves attention. Hardware cannot correct every design weakness, though. A strong bracket may still fail when the substrate is thin, the screw misses a stud, or the load sits too high.
Professional practice should combine hardware selection, load testing, and installation control. ANSI/BIFMA performance standards provide useful benchmarks for commercial furniture durability and stability. ASTM furniture stability requirements also encourage testing beyond appearance. A cabinet should remain steady when a drawer opens fully. Its feet should contact the floor evenly. Its back panel should resist racking, not merely cover the frame.
Real improvement is sometimes less elegant. Add a second anchor. Replace a short screw. Recheck the joint after assembly. These details matter. This introduction to seven practical tips examines where stability is lost and how carefully chosen hardware can restore it. One point remains easy to overlook: “stronger” hardware is not always safer without correct placement.
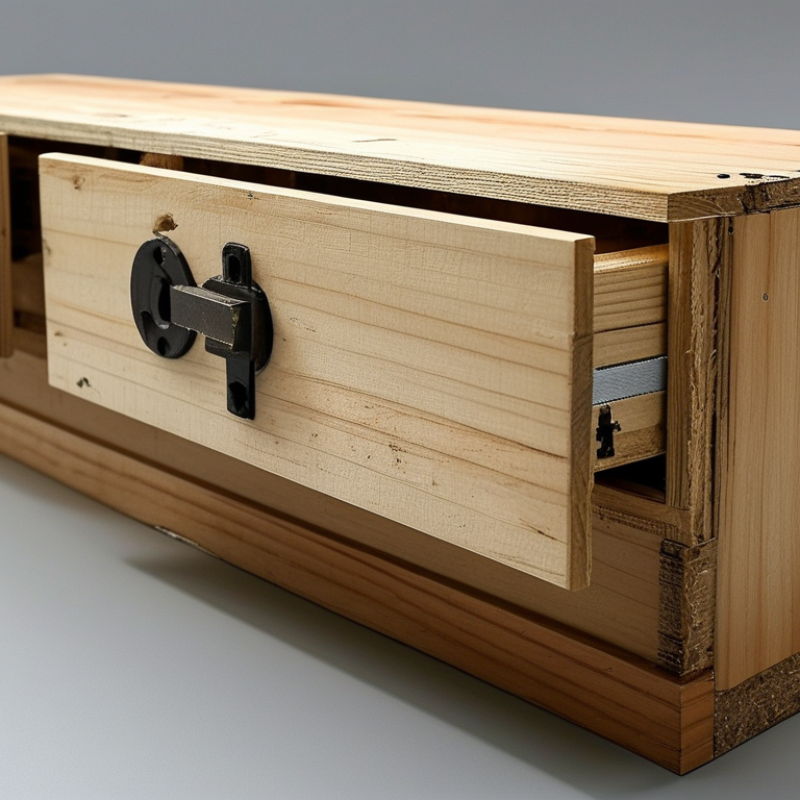
Assess Tip-Over Risks Using ASTM F2057 and ANSI/BIFMA Stability Criteria
7 Tips to Improve Furniture Stability Using Hardware
Assess tip-over risk before choosing hardware. ASTM F2057 provides a practical framework for evaluating clothing storage units, especially when drawers are opened or weight shifts upward. Applicable ANSI/BIFMA stability criteria add product-specific checks for office and storage furniture. Review the correct standard for the furniture type, then test on level flooring, carpet, and realistic load conditions. A qualified tester should record dimensions, drawer positions, applied forces, and failure points. Standards guide the process, but they do not replace careful engineering judgment.
Tip 1:
Install anti-tip brackets into solid wall framing, not weak surface material.
Tip 2:
Use leveling feet to reduce rocking, then verify contact at every corner.
Tip 3:
Add drawer interlocks where several open drawers could move the center of gravity forward.
Tip 4:
Select fasteners that match the substrate, load, and bracket geometry. Small hardware can fail when the installation is rushed.
Tip 5:
Place heavier items in lower compartments and repeat the stability test.
Tip 6:
Inspect screws after movement, because loosened connections may reveal hidden stress.
Tip 7:
Test assembled furniture, not only individual components.
A useful improvement is photographing each setup before testing. My early assumption was that a stronger bracket always solved instability. It did not. Floor slope, drawer clearance, and mounting location often mattered more. No test is perfect. Recheck the design when dimensions, hardware, or loading instructions change.
Reinforce High-Stress Joints with ISO 7170 Structural Requirements
7 Tips to Improve Furniture Stability Using Hardware
Reinforce High-Stress Joints with ISO 7170 Structural Requirements
Tip-over is not a cosmetic failure. It is a load-path failure. ISO 7170 evaluates storage units through strength, durability, and stability tests. Use its applicable edition as a design benchmark, not as a substitute for testing. The CPSC’s 2023 staff report estimated 71,300 emergency-department injuries linked to furniture, televisions, and appliances tipping over between 2018 and 2022. Children under six represented a significant share of these cases.
Start with seven practical hardware checks. Use reinforced corner blocks at cabinet-to-side-panel joints. Add threaded inserts where repeated assembly could weaken wood fibers. Select bolts with washers for compression control. Install anti-racking plates across wide rear panels. Reinforce hinge-side joints with longer fasteners and adequate edge distance. Add adjustable levelers to reduce rocking on uneven floors. Secure tall units to suitable wall structures using tested restraints.
Keep fasteners aligned with the actual load path. A screw placed near a panel edge may split the material. A stronger screw will not repair poor geometry. I have seen stable-looking cabinets loosen after repeated door cycles. That weakness is easy to miss. Apply cyclic loading, inspect joint gaps, and retighten only when the design allows it. ISO 7170 testing can expose failures that a quiet showroom cannot. Document torque values, material thickness, and hardware spacing for reliable production checks.
Verify Stability Through Load, Torque, Cycle, and Post-Installation Tests
Furniture stability depends on more than selecting strong hardware. The assembly must perform under realistic pressure, repeated movement, and everyday use. A practical verification plan uses load, torque, cycle, and post-installation tests. Record each result, even when the outcome seems obvious.
Tip 1: Apply a controlled load to shelves, seats, or drawers. Increase weight gradually and watch for deflection, joint gaps, rocking, or unusual sounds. Keep the furniture on a level surface. Stop immediately if movement becomes sudden.
Tip 2: Check fastener torque with a calibrated torque tool. Follow the hardware supplier’s specifications instead of relying on hand strength. Over-tightening can crush wood fibers or distort metal parts. Under-tightening allows gradual loosening. This small error is common.
Tip 3: Perform cycle testing. Open drawers, fold supports, or move doors repeatedly under normal conditions. A useful test may reveal loosened screws after several hundred cycles. Inspect washers, threads, and connection points between intervals. Do not test only once.
Tip 4: Complete a post-installation inspection after the furniture has been used. Recheck torque, level, joint alignment, and floor contact. Look for fresh scratches around fittings, which may indicate shifting. Ask the installer to document the date, tools, measurements, and observed defects. Real conditions can differ from workshop results, so revise the design when evidence challenges the original assumption.
7 Tips to Improve Furniture Stability Using Hardware
Verification should combine static load, tightening torque, repeated-use cycles, and a post-installation inspection. The example targets below use common engineering units and should be adapted to the furniture design, hardware specification, and applicable safety standard.
How to use the chart: Apply the specified proof load without permanent deformation, tighten hardware to the verified torque, repeat representative opening or movement cycles, and inspect joints, fasteners, and anchor points again after 24 hours of installation.
Conclusion
Improving furniture stability requires a structured approach that combines careful risk assessment, suitable hardware, and thorough testing. Start by evaluating tip-over risks according to ASTM F2057 and ANSI/BIFMA stability criteria, considering the furniture’s height, design, center of gravity, and intended load. To understand how to improve stability of furniture structure using hardware, select fasteners based on joint loads, material thickness, and reliable pull-out data rather than using a one-size-fits-all solution. High-stress connections should be reinforced in line with ISO 7170 structural requirements to help prevent loosening, distortion, or joint failure during normal use.
Wall anchors should be rated for the furniture’s total loaded weight, including stored contents, and installed securely in suitable wall structures. After installation, verify performance through load, torque, cycle, and post-installation tests. These checks can reveal movement, hardware loosening, or structural weakness early, helping ensure that the completed furniture remains stable, durable, and safe under expected conditions.
 Refa Tools
